How To Upload High Quality Photos On Instagram In 6 Steps? in 2023
By default, images on Instagram are uploaded with relatively good quality, but you may have noticed that the uploaded images do not have the same quality as the same image in your phone’s memory. In fact, Instagram compresses images to reduce their size, which reduces the relative quality of images on this social network. But you can upload high-quality images to Instagram from your iPhone or Android smartphone. A hidden option for this is in the settings of the Instagram app, which allows you to upload images in a much higher quality to your Instagram.
read more: Add Stories To Highlights Without Posting
How To Upload HIGH-QUALITY Photos To Instagram in 2023
- Download the most recent version of the Instagram app.
- Upload a photo with a width of at least 1080 pixels with an aspect ratio between 1.91:1 and 4:5.
- Make sure you’re using a phone with a high-quality camera as different phones have cameras of varying qualities.
read more: How To Upload A Long Video To Instagram
Normal sizes of images on Instagram
Based on Instagram’s recommendation, regardless of whether your Instagram is on Android or iOS, always try to upload the photo with the best quality on Instagram.
The best possible quality actually means a width of 1080 pixels. If you upload a photo between 320 and 1080 pixels, no resizing will happen. Since its aspect ratio is between 1.91:1 and 4:5, no compression will happen for it on Instagram. So you share a high-resolution photo and the system downsizes it to 1080 pixels horizontally.
If the aspect ratio of your photo is not supported, the photo will be cropped until it reaches the appropriate size.
read more: How Do I Stop Getting Constant Notifications On Instagram
Your Instagram account is now set to upload photos in high quality.
How to Enable High Quality Uploads on Instagram
- Open the Instagram app on your device.
- Tap the profile icon in the lower right corner of the screen.
- Tap the gear icon in the upper right corner of the screen.
- Scroll down and tap “Account”.
- Tap “Original Photos”.
- Toggle the switch to the right to enable high quality uploads.
- Tap “Done” in the upper right corner of the screen.
How to upload images to Instagram without compression?
In order to prevent the implementation of Instagram’s size reduction algorithm, which leads to compression of images, you must first make your desired photo to a width of 1080 pixels and an aspect ratio between 1.91:1 and 4:5 Instagram. Otherwise, Instagram will compress and resize your photo.
We said a little above that there is an option in the Instagram settings that can be used to upload high-quality images to Instagram. Of course, this will increase your internet usage, but if you don’t have a problem with this, you can enjoy your pictures on Instagram with the best quality. Activating this feature is not difficult and you can do it on your smartphone in a few steps. To do this on your iPhone or Android phone, follow the steps below:
read more: How To Share My Instagram Post And Story On Facebook
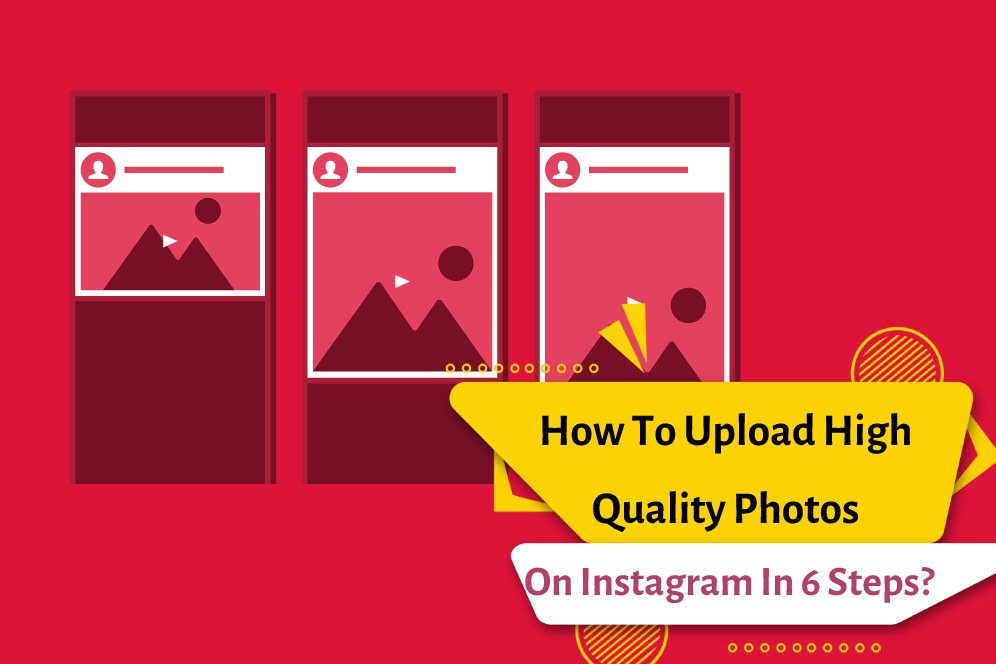
How to upload high-quality images on Instagram?
- Run the Instagram app on your smartphone.
- Now go to your user profile page. The same page where your posts will be displayed.
- From the top right corner, touch the icon with three horizontal lines to display more options.
- From the options, select Settings to go to the app settings page.
- In the next step, touch the Account option and then touch Data Usage.
- You will see the High Quality Uploads option. Set the status of this option to active.
The work has been completed and from now on stories, posts including images and videos will be uploaded with much higher quality than before applying the settings. Again, it is necessary to mention, as mentioned in the description of this option, by activating this feature, your internet usage will naturally increase.
Whether it’s worth the extra internet costs depends on the user. For many users, the ultimate quality of their images on social networks is very important, while due to the relatively high cost of mobile internet, many are satisfied with the default quality of their images on Instagram. However, in our opinion, if you are a regular user, it may be more economical to keep this option off. What is your opinion about this?
Why is my Instagram quality blurry?
There are a few possible reasons why your Instagram images may appear blurry. These include:
- The image you uploaded was low resolution or too small.
- You uploaded a compressed version of the image.
- You uploaded an image with a low bitrate.
- Your device or browser has a slow connection.
- You are using an outdated version of Instagram.
- You are using an outdated version of your device’s operating system.
How do I turn 4K on Instagram?
Unfortunately, Instagram does not currently support 4K resolution. However, Instagram does support 1080p resolution, which is the highest resolution available. To enable 1080p resolution on Instagram, go to your profile page and tap the three dots in the top right corner. Select Settings, then tap Account, and then tap Video Settings. From here, you can select the 1080p resolution option.
how to change upload quality on instagram
To change the upload quality on Instagram, go to your profile, tap the three lines in the top right corner, and select Settings. From there, select Account, then Original Photos. You can then select the desired upload quality.
how to upload high quality photos to instagram story
- Select the photo you want to upload to your Instagram story.
- Make sure the photo is of high quality. If it is not, use a photo editing app to adjust the brightness, contrast, and other settings to improve the quality.
- Once the photo is ready, open the Instagram app and select the “Your Story” option.
- Tap the “+” icon to add the photo to your story.
- Select the “High Quality” option to ensure that the photo is uploaded in the highest quality possible.
- Add any text, stickers, or other elements to your story, and then tap the “Share




6 easy and convenient steps. Work started, man
i download the profile picture but it’s poor quality
Thank you for your detailed and comprehensive explanation